✨ New Arrivals Just Dropped!Explore
![FiguartsZERO Monkey D. Luffy: Paramount War [Extra Battle] (One Piece)](/images/getgundamplanet.shop/images/product/figuartszero-monkey-d-luffy-paramount-war-extra-battle-one-piece-1.jpg)
FiguartsZERO Monkey D. Luffy: Paramount War [Extra Battle] (One Piece)
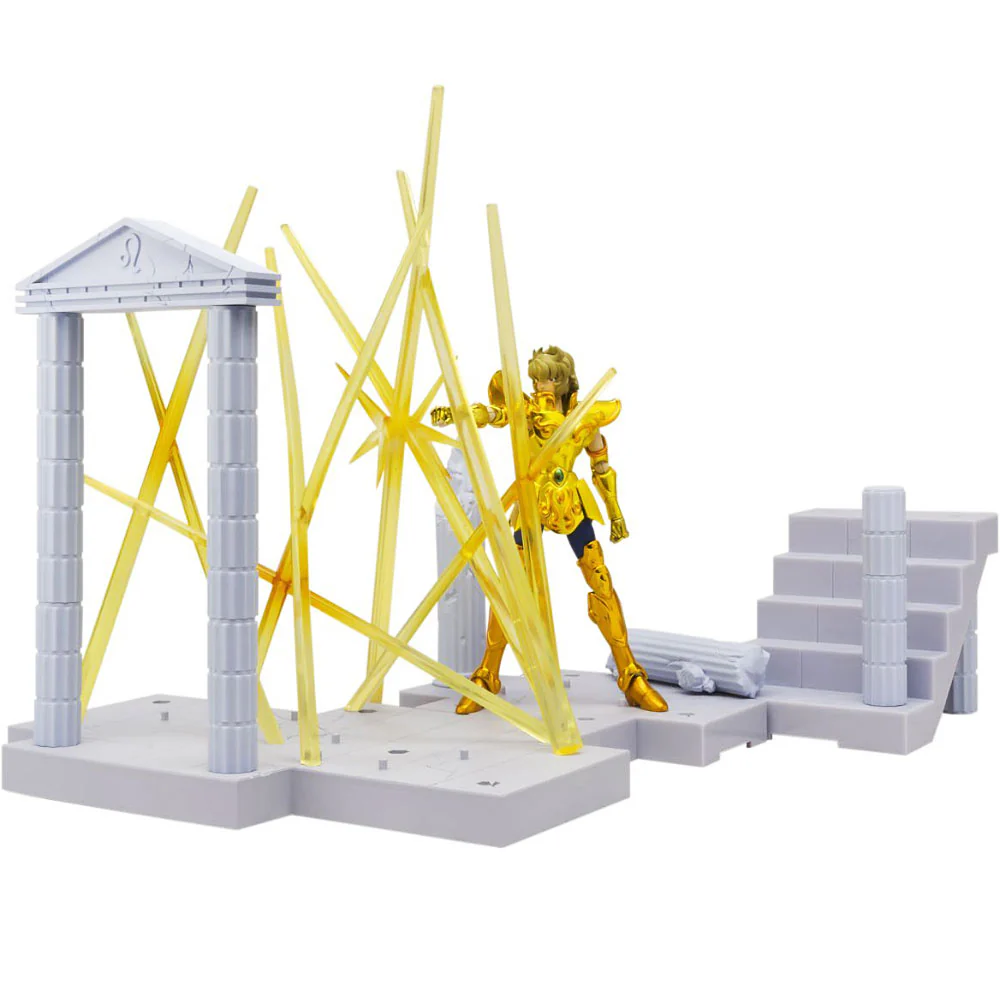
[Set Contents] Main body (including effects), Dedicated stand
$70.95
FiguartsZERO Monkey D. Luffy: Paramount War [Extra Battle] (One Piece)—
$70.95
More Images
![FiguartsZERO Monkey D. Luffy: Paramount War [Extra Battle] (One Piece) - Image 2](/images/getgundamplanet.shop/images/product/figuartszero-monkey-d-luffy-paramount-war-extra-battle-one-piece-2.jpg)
![FiguartsZERO Monkey D. Luffy: Paramount War [Extra Battle] (One Piece) - Image 3](/images/getgundamplanet.shop/images/product/figuartszero-monkey-d-luffy-paramount-war-extra-battle-one-piece-3.jpg)
![FiguartsZERO Monkey D. Luffy: Paramount War [Extra Battle] (One Piece) - Image 4](/images/getgundamplanet.shop/images/product/figuartszero-monkey-d-luffy-paramount-war-extra-battle-one-piece-4.jpg)
![FiguartsZERO Monkey D. Luffy: Paramount War [Extra Battle] (One Piece) - Image 5](/images/getgundamplanet.shop/images/product/figuartszero-monkey-d-luffy-paramount-war-extra-battle-one-piece-5.jpg)
![FiguartsZERO Monkey D. Luffy: Paramount War [Extra Battle] (One Piece) - Image 6](/images/getgundamplanet.shop/images/product/figuartszero-monkey-d-luffy-paramount-war-extra-battle-one-piece-6.jpg)
![FiguartsZERO Monkey D. Luffy: Paramount War [Extra Battle] (One Piece) - Image 7](/images/getgundamplanet.shop/images/product/figuartszero-monkey-d-luffy-paramount-war-extra-battle-one-piece-7.jpg)
![FiguartsZERO Monkey D. Luffy: Paramount War [Extra Battle] (One Piece) - Image 8](/images/getgundamplanet.shop/images/product/figuartszero-monkey-d-luffy-paramount-war-extra-battle-one-piece-8.jpg)
FiguartsZERO Monkey D. Luffy: Paramount War [Extra Battle] (One Piece)
[Set Contents] Main body (including effects), Dedicated stand
Product Information
Product Information
Shipping & Returns
Shipping & Returns
Description
[Set Contents] Main body (including effects), Dedicated stand